

Dyeing Fabric with Fresh Indigo
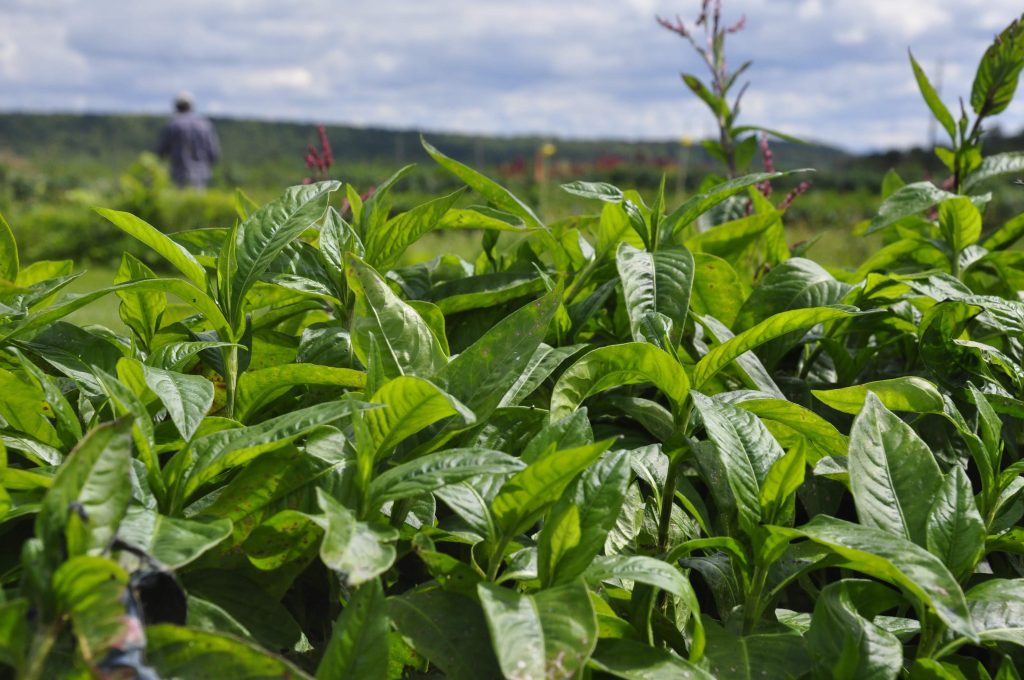
Over the past few years, I have been trying out different fabric dyeing techniques using crops and plants grown on the farm. Throughout my on-farm fabric dyeing experience, I have used onion skins, marigolds and cabbage, but after doing an indigo dyeing workshop, I started looking into how I could grow my own indigo to use for dyeing. After reading blog after blog, I decided that I wanted to grow Japanese Indigo (Polygonum tinctorium). In the spring, I started the seeds in our greenhouse and transplanted ~20 plants outside into black plastic in the early summer. I have been watering them regularly and they have been fertilized with a nitrogen based fertilizer a few times. As of now (the end of August), the plants are growing well. From what I have read, it's a good idea to harvest some leaves in the summer to encourage branching and more foliage growth in the fall. To accomplish this, I decided to pick enough leaves to actually dye a few pieces of fabric.
I mostly followed the salt extraction method steps that were outlined on Rebecca Desnos' blog and Madderlane's blog. Here are the basic steps I followed:
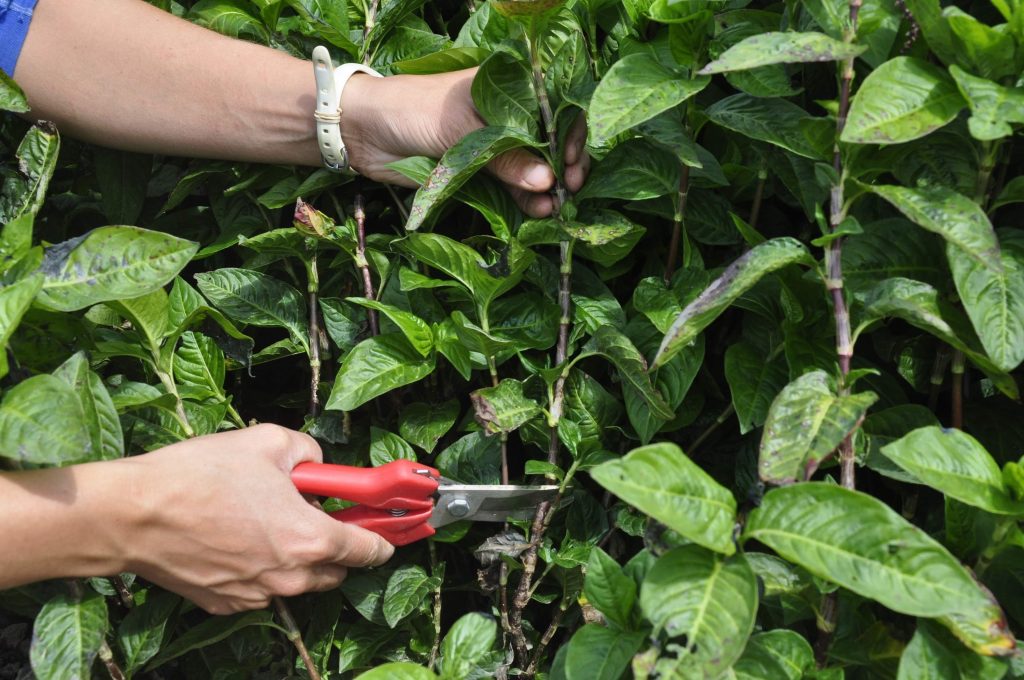
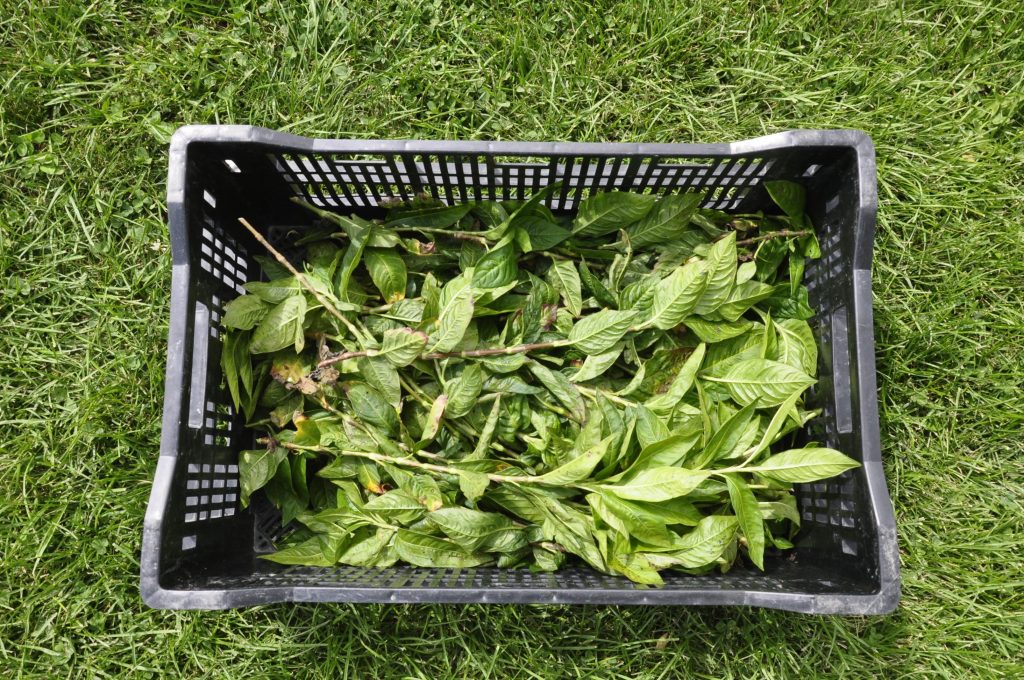
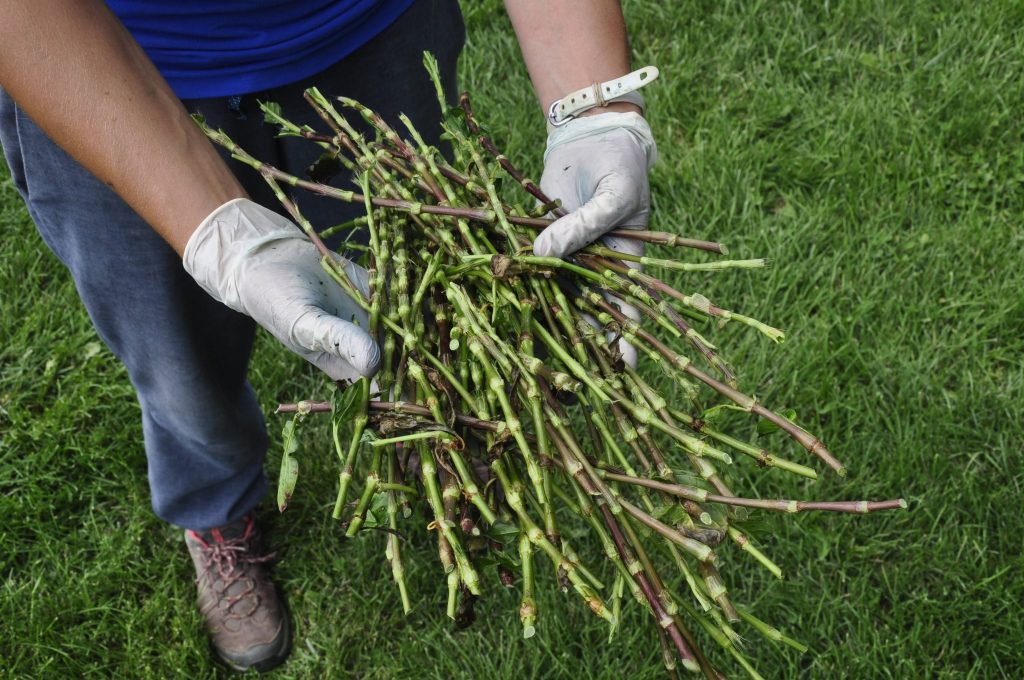
I harvested about half of a bulb crate full of indigo branches. I cut the stems just above where a branch was starting to grow, so it would encourage more branching later in the season. I rinsed the stems quickly with a hose and shook them dry.
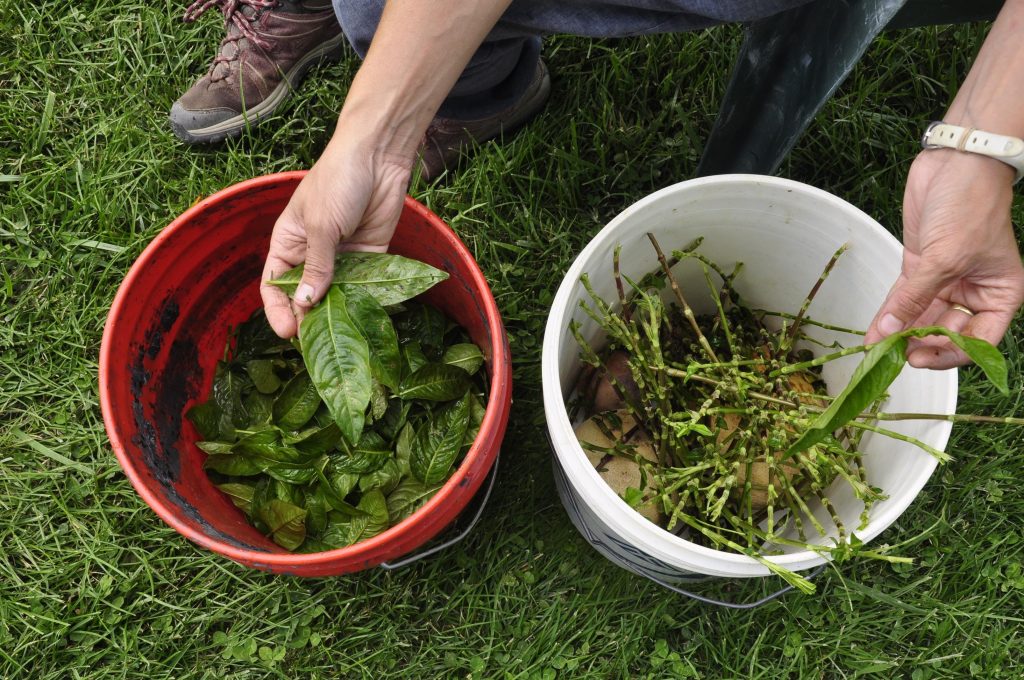
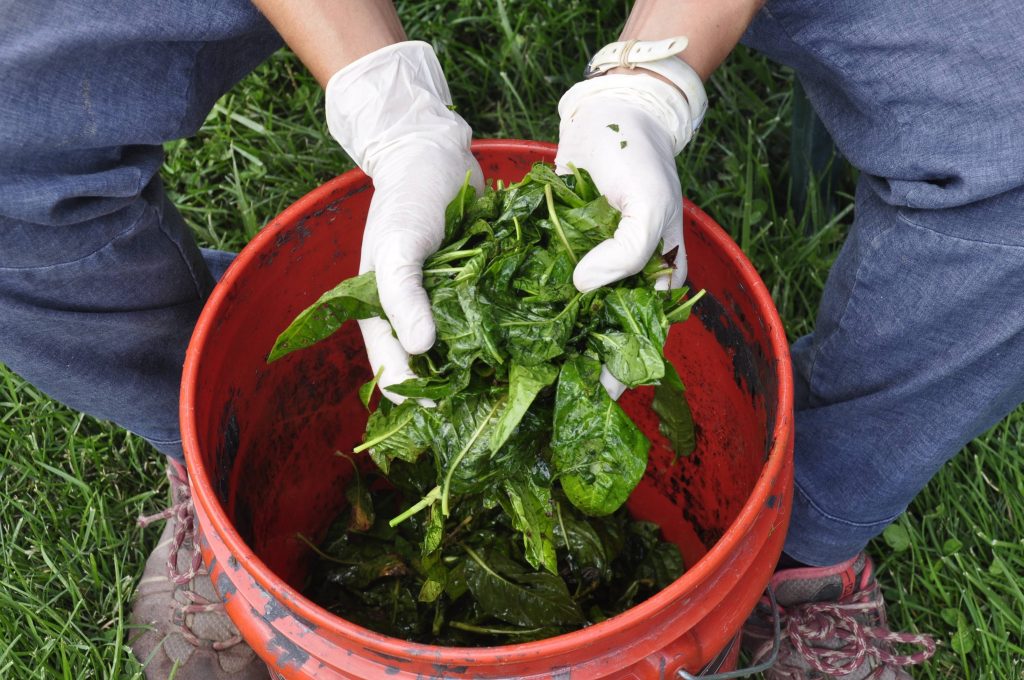
I stripped the leaves off the stems and placed them into a 5 gallon bucket. I ended up with ~1/3 of a bucket of leaves loosely packed. I regret not weighing it...
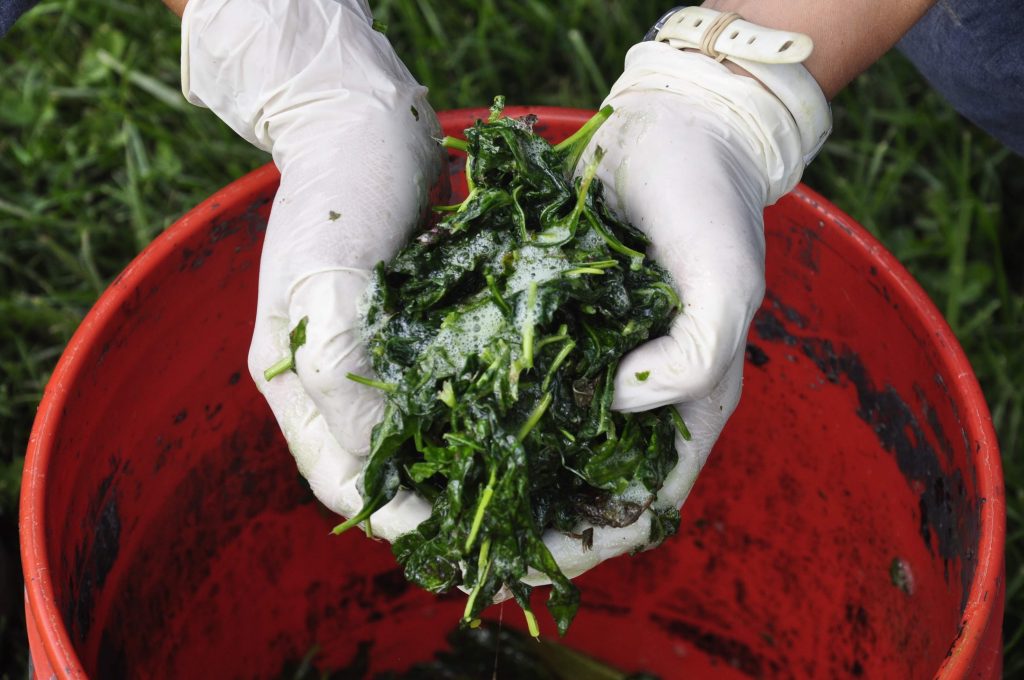
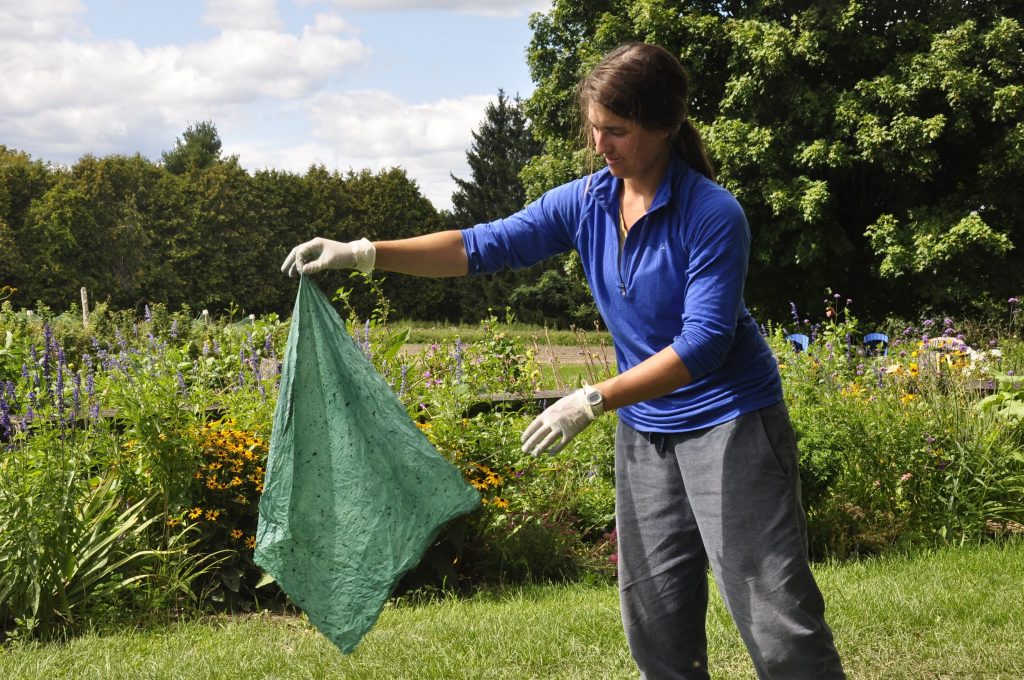
I added ~2 tablespoons of non-iodized salt to my bucket full of indigo leaves. While wearing gloves, I started to massage the leaves. After a few minutes, liquid started to appear. I continued to knead the leaves for about 15 minutes. The leaves turned dark green and almost looked like cooked spinach.
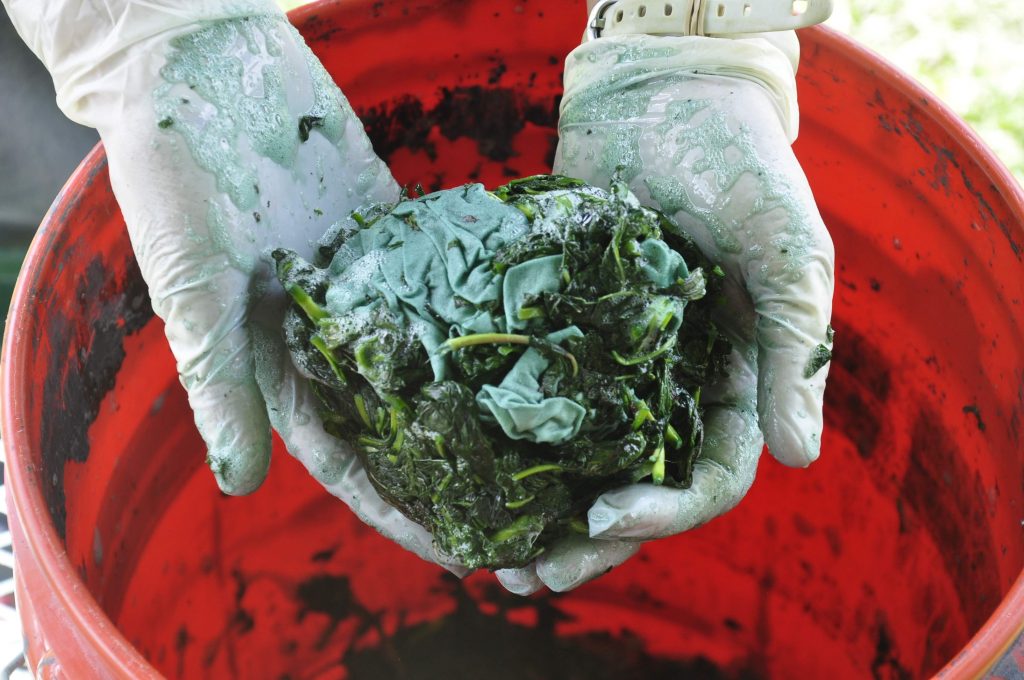
I added two pieces of white PFD (prepared for dyeing) cotton to the bucket. Both pieces were approximately 20" x 20". One piece had been mordanted with alum acetate and the other was not mordanted. I started kneading the leaves into the fabric until it was completely wet and a light teal color had soaked through all of the fabric. I continued to knead for about 10 minutes.
After removing the fabric from the leaf mash bucket, I striped as much of the mashed leaves off the fabric as possible, then hung each piece to dry in the shade. Sun can potentially affect the coloring of a dye when drying, so it's best to find a shady spot to dry it.
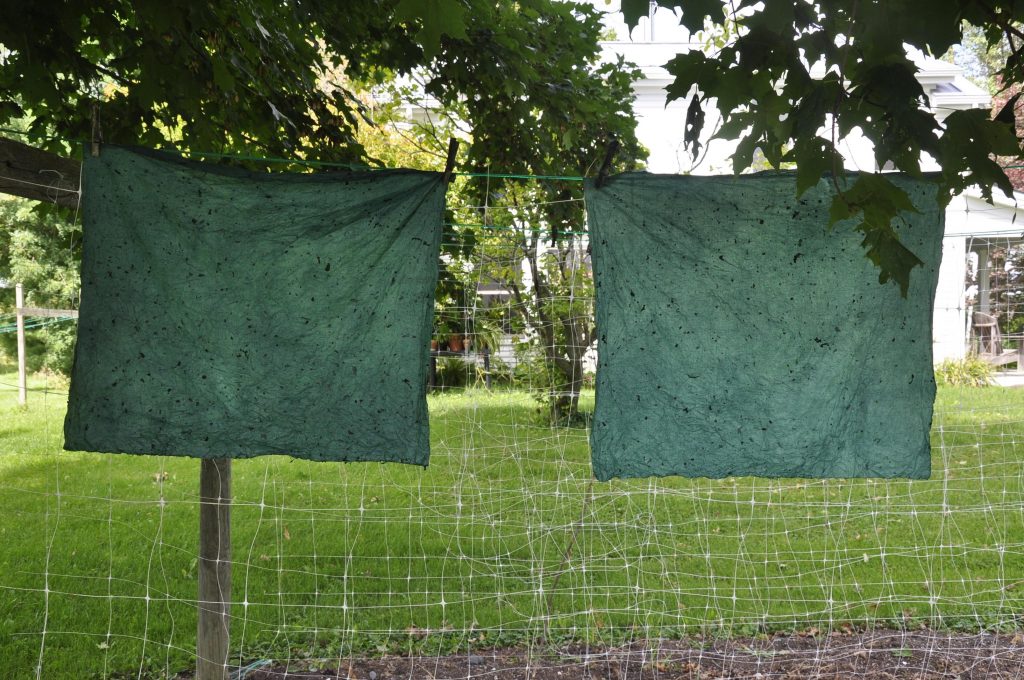
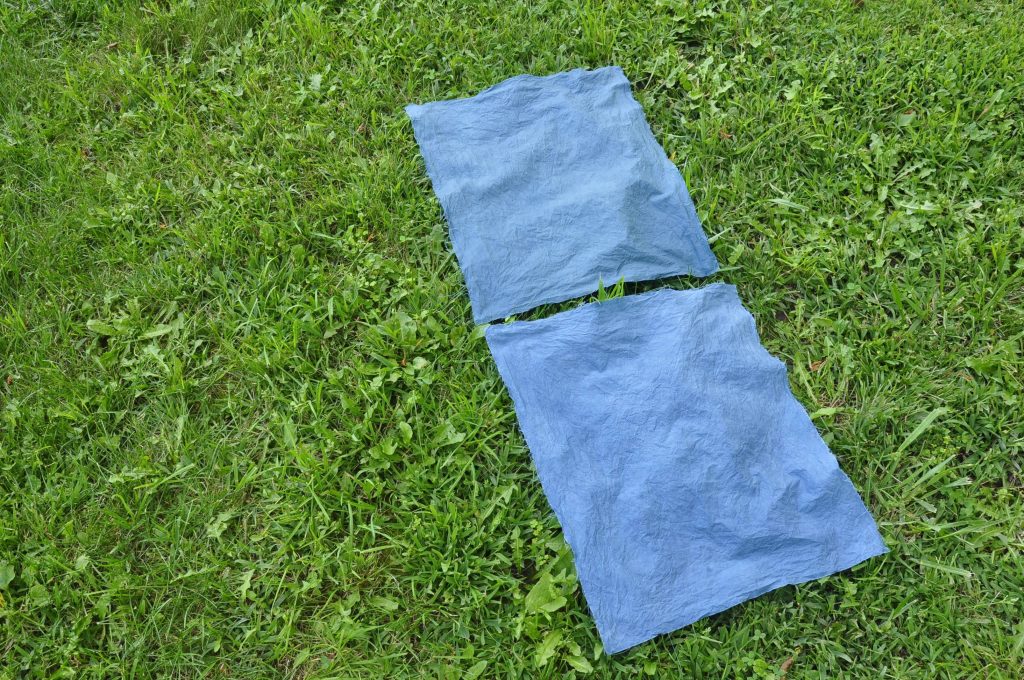
Once the fabric had completely dried, I rinsed it outdoors with cold water until the water ran clear. I then hung the each piece to dry again in the shade. The mordanted fabric appears to be slightly more teal, while the non-mordanted fabric is slightly more blue. I love how they both turned out!
I hope this post is helpful and encourages you to either harvest some of the leaves from your own garden, or consider growing your own indigo plants next year. We will definitely be selling them again in the spring. I look forward to trying different methods of extracting color from my plants throughout this fall!
This was written by Pauline Stevens on 8/31/19.