

Dyeing Fabric with Fresh Indigo
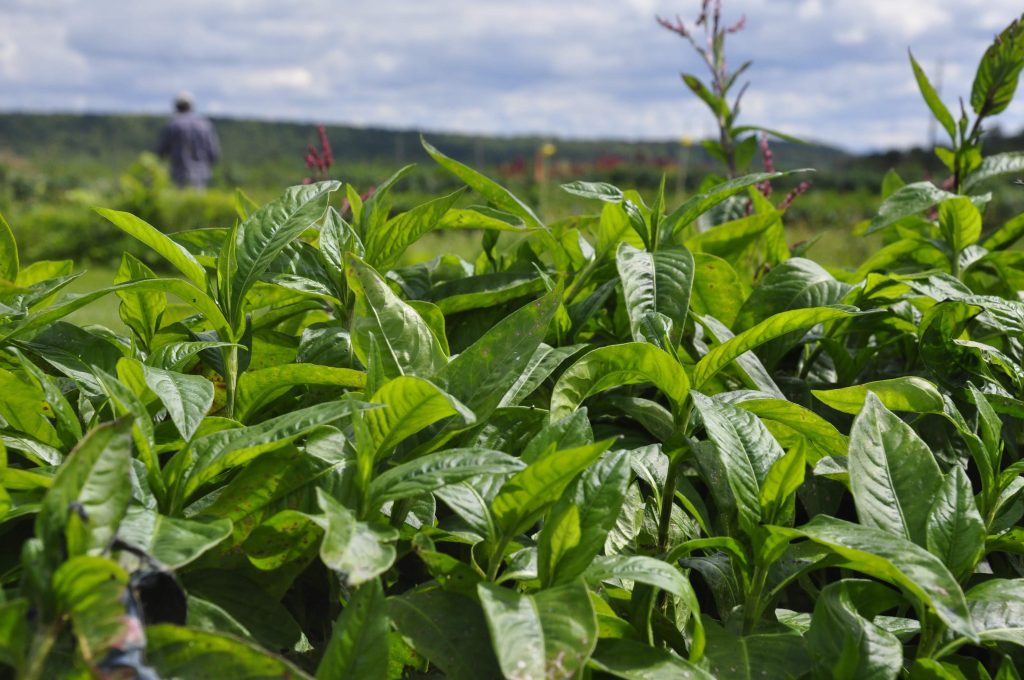
Over the past few years, I have been trying out different fabric dyeing techniques using crops and plants grown on the farm. Throughout my on-farm fabric dyeing experience, I have used onion skins, marigolds and cabbage, but after doing an indigo dyeing workshop, I started looking into how I could grow my own indigo to use for dyeing. After reading blog after blog, I decided that I wanted to grow Japanese Indigo (Polygonum tinctorium). In the spring, I started the seeds in our greenhouse and transplanted ~20 plants outside into black plastic in the early summer. I have been watering them regularly and they have been fertilized with a nitrogen based fertilizer a few times. As of now (the end of August), the plants are growing well. From what I have read, it’s a good idea to harvest some leaves in the summer to encourage branching and more foliage growth in the fall. To accomplish this, I decided to pick enough leaves to actually dye a few pieces of fabric.
I mostly followed the salt extraction method steps that were outlined on Rebecca Desnos’ blog and Madderlane’s blog. Here are the basic steps I followed:
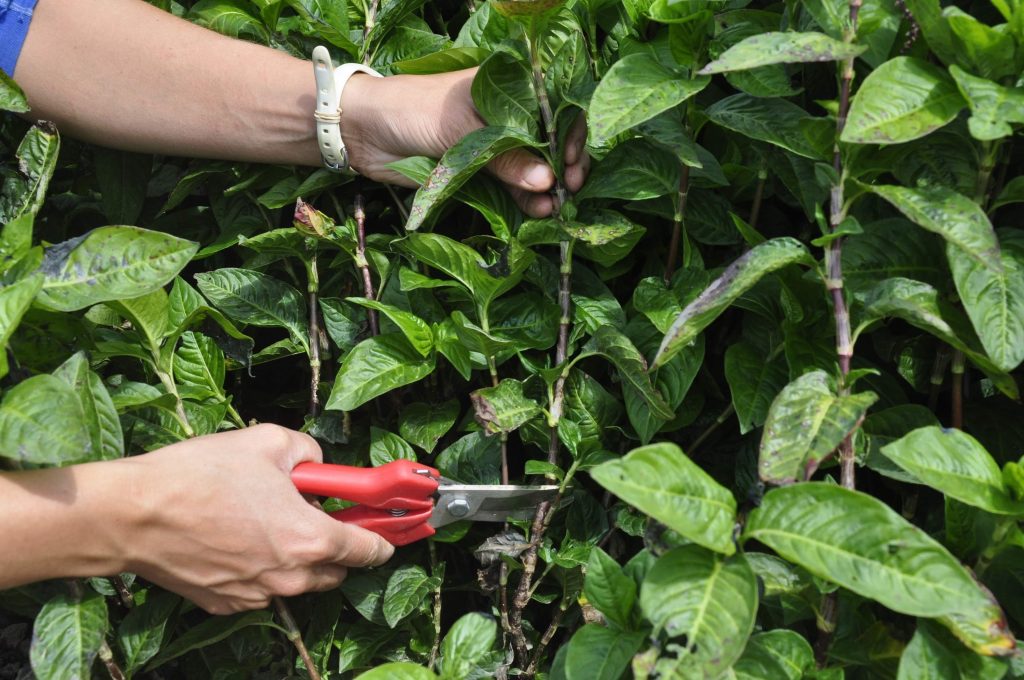
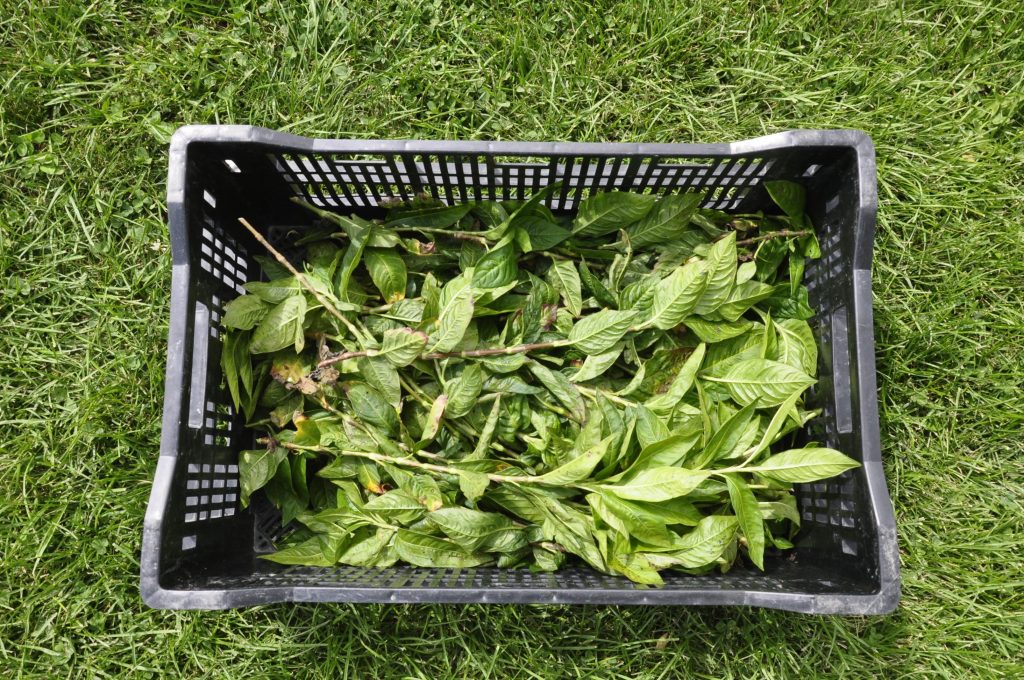
I harvested about half of a bulb crate full of indigo branches. I cut the stems just above where a branch was starting to grow, so it would encourage more branching later in the season. I rinsed the stems quickly with a hose and shook them dry.
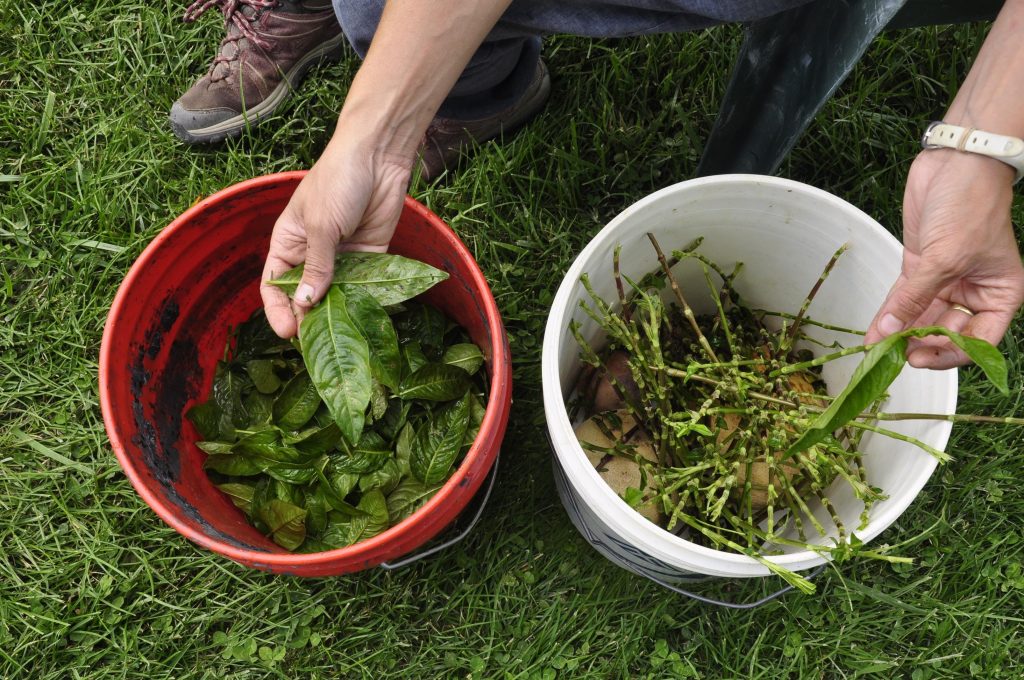
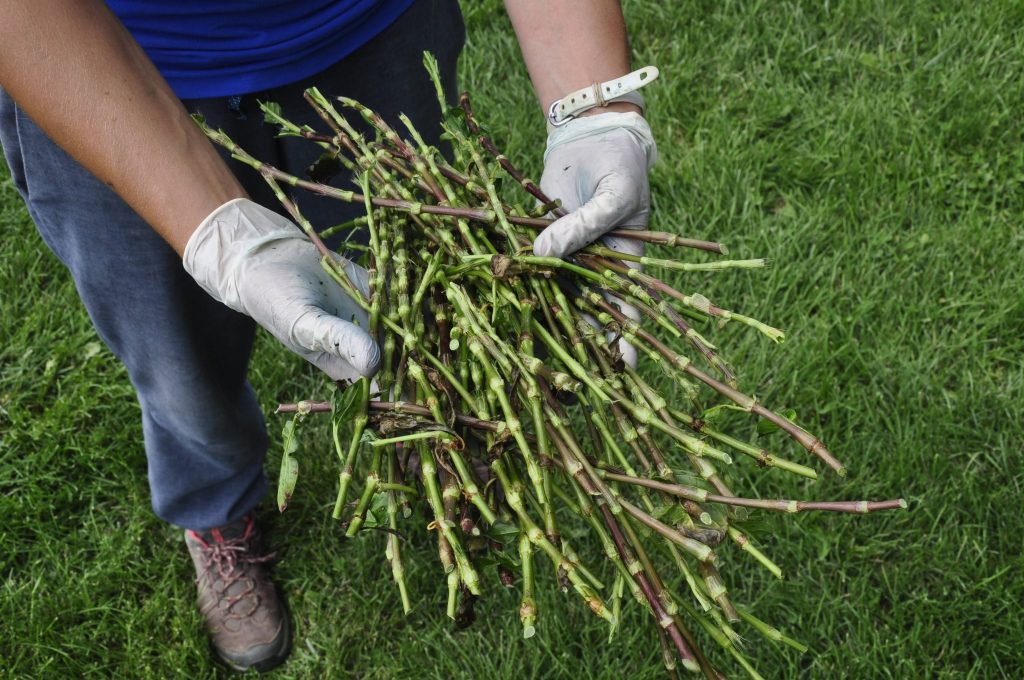
I stripped the leaves off the stems and placed them into a 5 gallon bucket. I ended up with ~1/3 of a bucket of leaves loosely packed. I regret not weighing it…
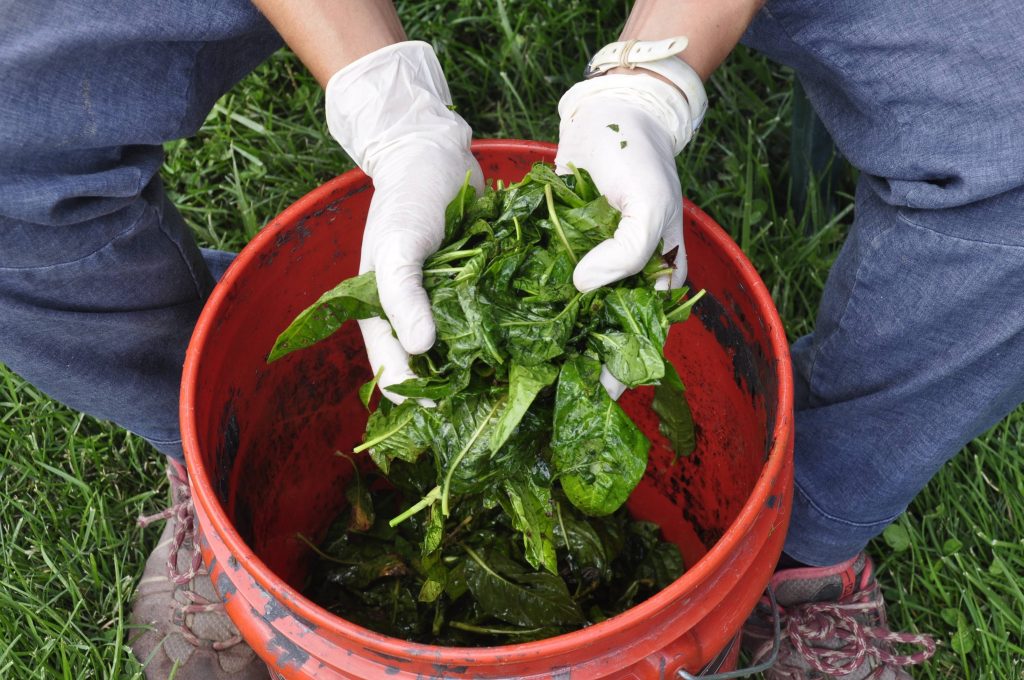
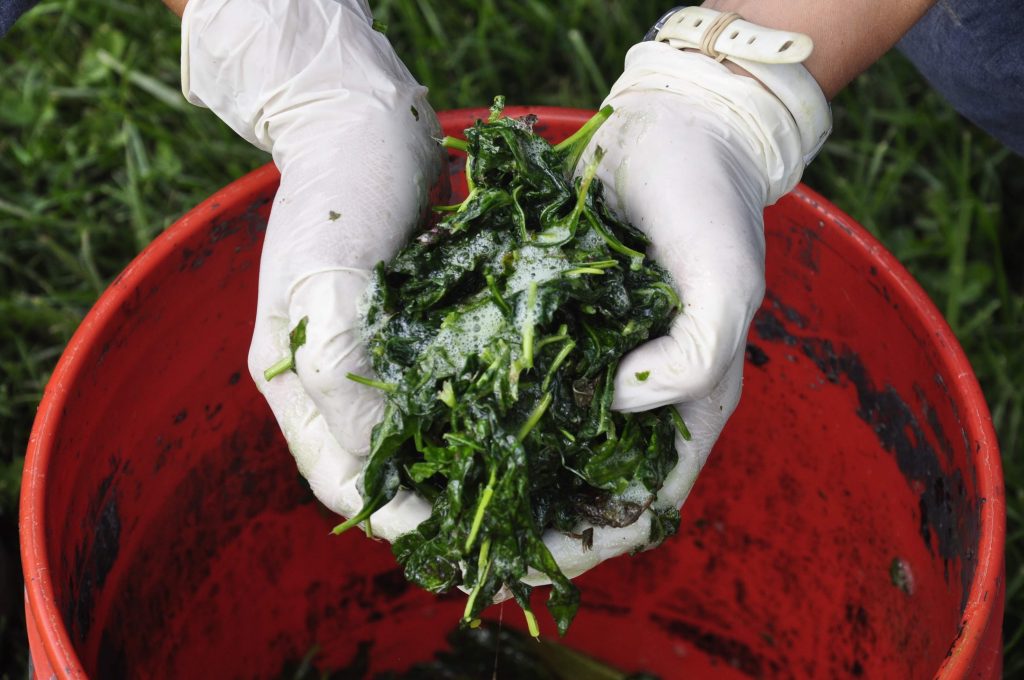
I added ~2 tablespoons of non-iodized salt to my bucket full of indigo leaves. While wearing gloves, I started to massage the leaves. After a few minutes, liquid started to appear. I continued to knead the leaves for about 15 minutes. The leaves turned dark green and almost looked like cooked spinach.
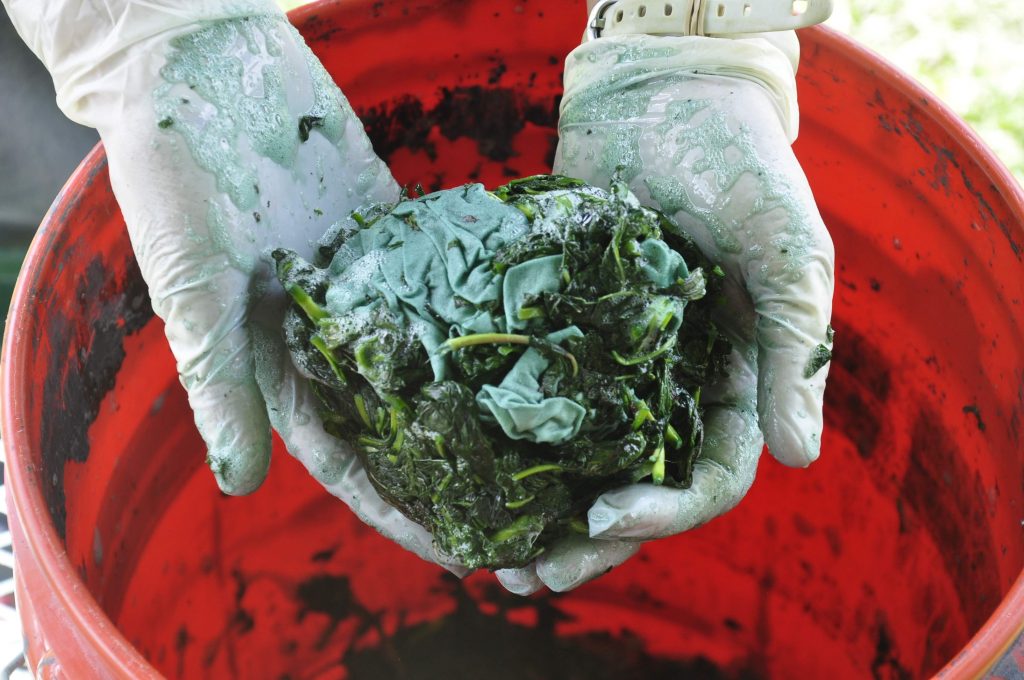
I added two pieces of white PFD (prepared for dyeing) cotton to the bucket. Both pieces were approximately 20″ x 20″. One piece had been mordanted with alum acetate and the other was not mordanted. I started kneading the leaves into the fabric until it was completely wet and a light teal color had soaked through all of the fabric. I continued to knead for about 10 minutes.
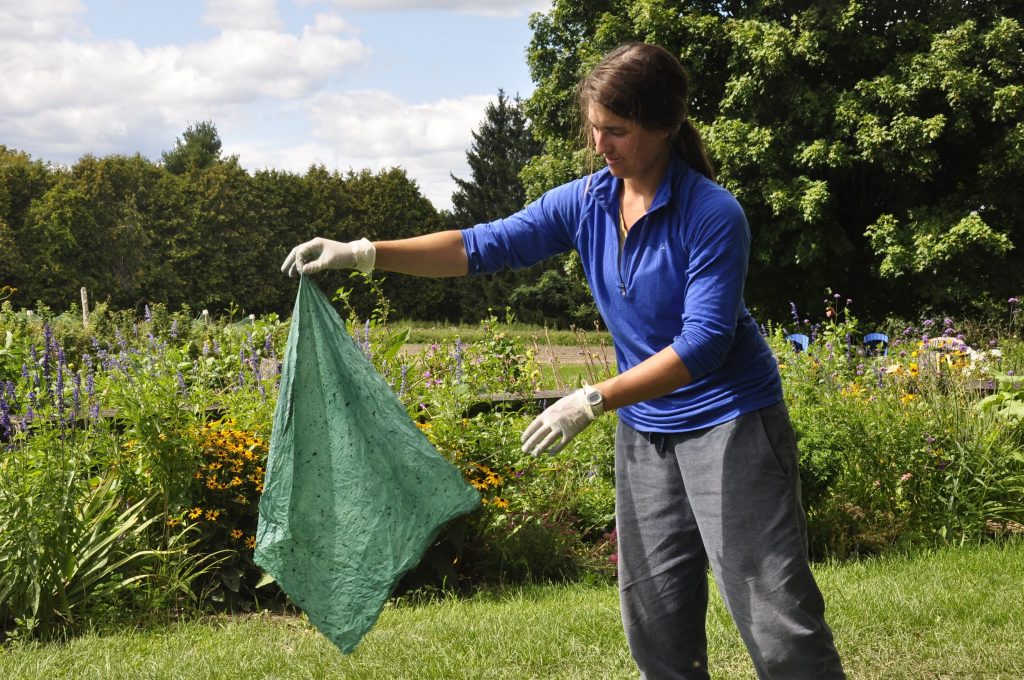
After removing the fabric from the leaf mash bucket, I striped as much of the mashed leaves off the fabric as possible, then hung each piece to dry in the shade. Sun can potentially affect the coloring of a dye when drying, so it’s best to find a shady spot to dry it.
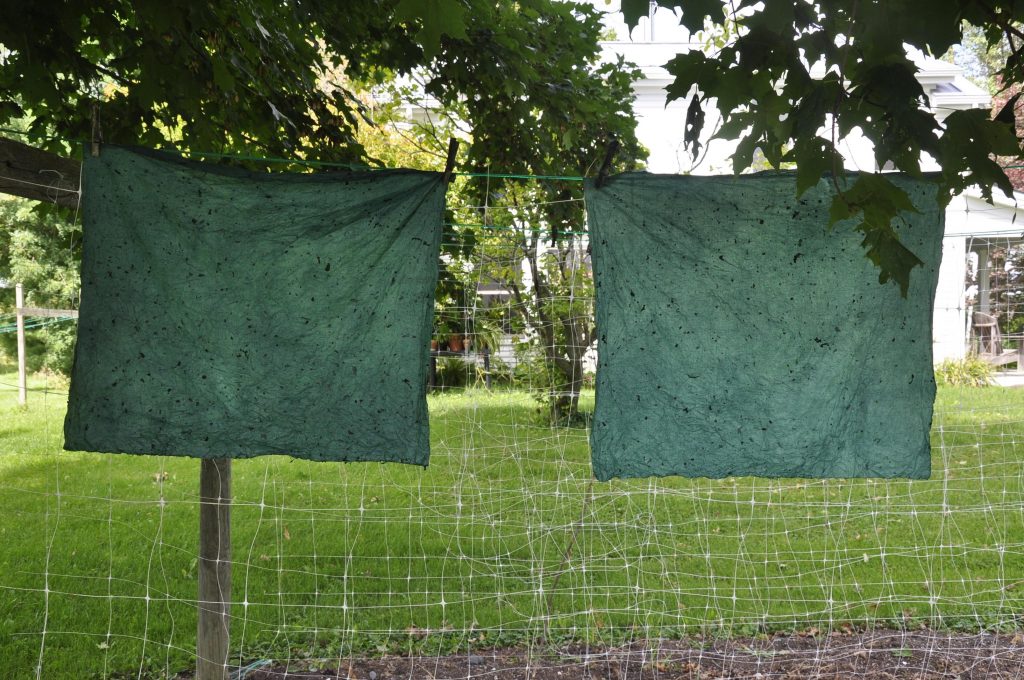
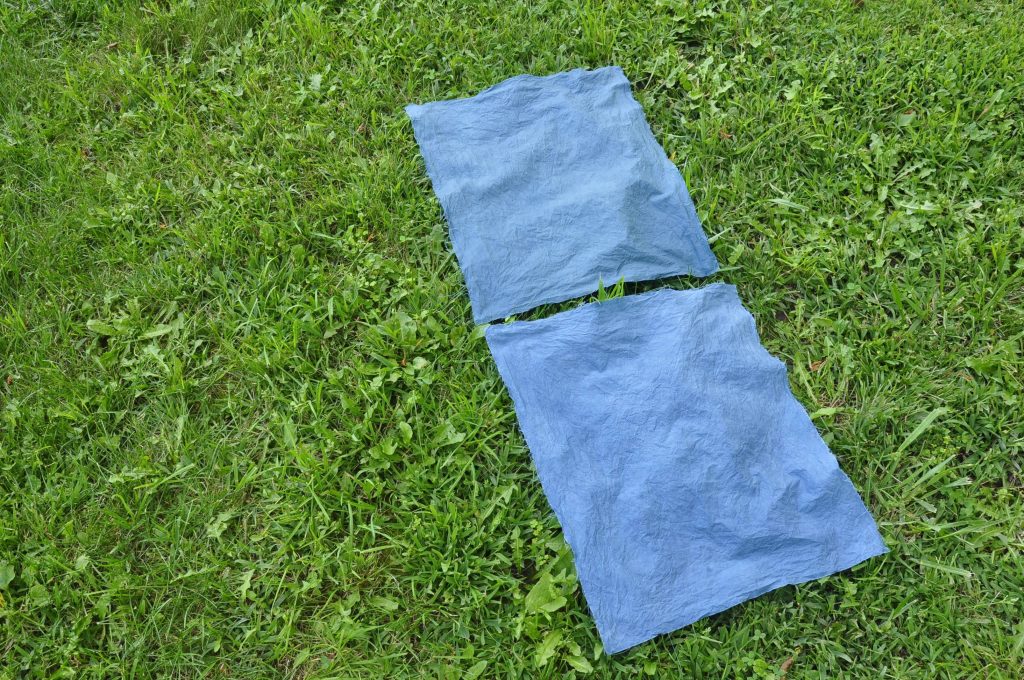
Once the fabric had completely dried, I rinsed it outdoors with cold water until the water ran clear. I then hung the each piece to dry again in the shade. The mordanted fabric appears to be slightly more teal, while the non-mordanted fabric is slightly more blue. I love how they both turned out!
I hope this post is helpful and encourages you to either harvest some of the leaves from your own garden, or consider growing your own indigo plants next year. We will definitely be selling them again in the spring. I look forward to trying different methods of extracting color from my plants throughout this fall!
This was written by Pauline Stevens on 8/31/19.
Currently Cooking: Ginger Butternut Soup
Soup Season is here! It’s time to start getting creative with your vegetables and make some tasty soup to get you through these chilly days. First up, we’d like to share a classic with you: Ginger Butternut Soup. The recipe below was adapted from a Bon Appétit recipe that you can find here.
Ingredients:
1 medium butternut squash (about 2 pounds), halved lengthwise, seeded*
1 Tablespoon olive oil
1 large onion, chopped*
1 Tablespoon maple syrup
1 Tablespoon fresh ginger, grated*
2 garlic cloves, grated*
1/2 cinnamon stick
4 cups chicken or vegetable broth
Salt & Pepper to taste
Preparation:
Preheat oven to 375°F. Place squash, cut side down, on lightly oiled parchment paper on a baking sheet. Bake until squash is very soft, about 50 minutes. Using paring knife, remove peel from squash; discard peel. Cut squash into 2-inch pieces.
Heat oil in heavy large pot over medium-low heat. Mix in onion, maple syrup, ginger, garlic and cinnamon stick. Cover pot and cook until onion is tender, about 15 minutes. Add squash and chicken broth. Bring to a boil. Reduce heat to medium-low. Cover and simmer 10 minutes. Discard cinnamon.
Let cool slightly then purée soup with an immersion blender. Season soup with salt and pepper. Bring soup back to simmer, thinning soup with more broth if necessary. Ladle into bowls. Sprinkle with parsley, pepitas, sour cream or any other tasty toppings and serve. The soup can be prepared 1 day ahead and kept in the refrigerator, or further in advance and frozen.
Serves 4.
*Grown here on the farm!
Currently Creating: Maple Dill Salsa
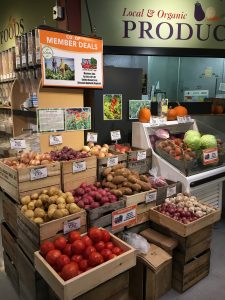
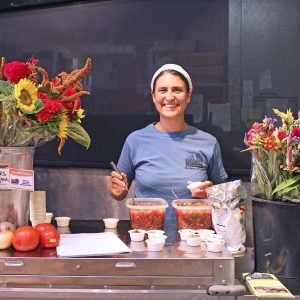
It’s been a busy month here on the farm! Half of our crew has gone back to school and the rest of us are busy harvesting, processing and delivering food up to Middlebury and Burlington. This week we were the local producer of the week at the Middlebury Natural Foods Co-op, meaning that all of our products were featured prominently in the store and all co-op members received 20% off all of our products. It’s one of our favorite weeks of the year and we’re so appreciative of how much the Co-op supports our local food system. This week we featured potatoes, winter squash, tomatoes, onions, shallots, cabbage, beets, peppers, garlic, kale, herbs, flower bouquets and more!
As part of this promotion, Pauline stopped by the co-op for a few hours to share some samples and recipe ideas of ways to prepare and eat our vegetables. Since salsa is a breakfast, lunch and dinner staple here on the farm, and we’re currently growing almost every ingredient, we thought it’d be the perfect dish to feature! She made a fresh pico de gallo style salsa and adapted a favorite recipe from Ellen Ecker Ogden’s “From The Cook’s Garden” cookbook. We recommend picking up a copy of this book if you’re looking for more inspiration on how to eat this fall’s bounty – it’s an amazing resource. You can find the recipe below and enjoy!
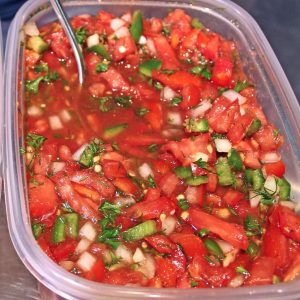

Maple Dill Salsa
2 large tomatoes, chopped
1 green or red bell pepper, chopped
1/2 sweet onion, chopped
1 garlic clove, minced
1 habanero pepper, minced
1 jalapeño pepper, minced
2 Tablespoons fresh dill, chopped
2 Tablespoons fresh curly parsley, chopped
2 Tablespoons fresh lime juice
1 Tablespoon maple syrup
1 Tablespoon Tamari
1/2 teaspoon ground cumin
1/4 teaspoon sea salt
Mix all ingredients in a medium bowl. Enjoy with tortilla chips or fish tacos! Makes ~4 cups.
*Recipe was adapted from Ellen Ecker Ogden’s “Maple Tomato Salsa” recipe in From The Cook’s Garden.
**Photo credit: Pauline Stevens and Emily Landenberger.
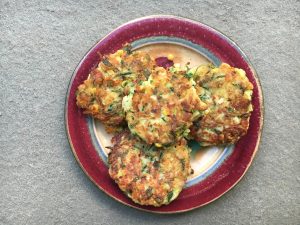
Currently Cooking: Zucchini & Corn Fritters
We just started harvesting sweet corn a few days ago, and couldn’t be more excited about it. Now that we we’re harvesting it daily, you better believe that we’re also eating it daily! Since we have an abundance of zucchini and fresh herbs as well, I decided to make one of my favorite summer dinners tonight: Zucchini and Corn Fritters.
Here’s my favorite recipe and we hope you’re inspired to make it at home!
Ingredients:
- 1 pounds (about 1 large) zucchini, ends trimmed*
- 1 medium onion, peeled*
- 1 1/4 teaspoons salt, divided
- 1 ear corn, kernels cut from cob (about 1/2 cup)*
- 1 large egg, lightly beaten (Available at Doolittle Farm, just down the road from us.)
- 1 large garlic clove, grated or minced*
- 1 serrano or jalapeño pepper, minced*
- 1 tablespoon fresh basil, minced*
- 1 tablespoon fresh parsley, minced*
- 1/4 teaspoon freshly ground black pepper
- 1/2 cup all-purpose flour
- 1/2 teaspoon baking powder
- 1 cup shredded cheddar cheese
- Olive oil or vegetable oil, for frying
- 1 cup greek yogurt
- 1 tablespoon lemon juice
Process:
- Preheat oven to 250°F and set a wire rack in a rimmed baking sheet. Grate zucchini on the large holes of a box grater, or use the shredding blade of a food processor. Transfer shredded zucchini to colander set over a bowl or in the sink. Repeat with the onion, then add to the zucchini.
-
Toss zucchini and onion with 1 teaspoon salt and let stand in colander for 10 minutes. Using your hands or a clean dish towel, squeeze out as much of the liquid from the zucchini and onion as possible. Transfer zucchini mixture to a large bowl and add corn kernels. Stir in egg, garlic, basil, parsley, serrano pepper, black pepper, flour, baking powder, and shredded cheddar until thoroughly combined.
-
In a large cast iron or heavy stainless steel skillet, heat 2 tablespoons oil over medium heat until shimmering. Working in batches to avoid crowding the pan, carefully drop scant 1/3 cupfuls of the zucchini batter into the skillet, then press down on them with the cup measure to flatten them to about 1/3 inch thick.
-
Cook until the bottom side is golden brown, about 4 minutes (the corn will have a tendency to pop in the hot pan, so be careful; you may want to use a splatter guard or lid to shield yourself). If the fritters darken too quickly, reduce the heat to low. Flip the fritters and cook until browned on the other side, 3 to 5 minutes longer. Transfer fritters to the prepared baking sheet then keep warm in the oven. Repeat with remaining batter, keeping the pan well-oiled as you go.
- To make a dipping sauce, stir together greek yogurt, lemon juice and remaining 1/4 tsp of salt in a small bowl.
-
Serve fritters warm, with a dollop of lemon yogurt on top.
*Denotes ingredients that are currently available here on the farm!
Pauline adapted this recipe from Serious Eats and it makes about 7-8 fritters.